I recently participated in ecscCTF 2024, mainly to try out the reversing challenges from the CTF. Subsequently, a two-part VM challenge caught my attention, called fsvm and fsvm2.
These two use almost the same instruction set and different code dumps for emulation. The aim was to obtain the disassembly as soon as possible.
A huge shoutout to my teammate, retr0ds , who collaborated with me to solve fsvm by helping me construct the emulator for the task.
Triage
When we run the binary along with the provided bytecode, we encounter a prompt asking for a flag.
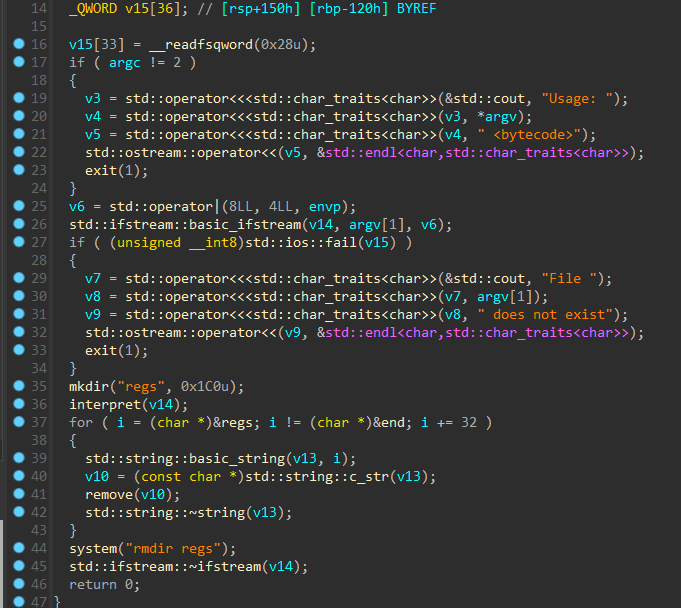
To understand what’s happening under the binary, I turned to IDA Pro for decompilation.
The interpret function seems like the program’s heart, as it takes the bytecode file path as its argument.
Before interpret is called, a directory named regs is created to store the values of the VM’s registers and subsequenntly, this directory is deleted at the end of the program.
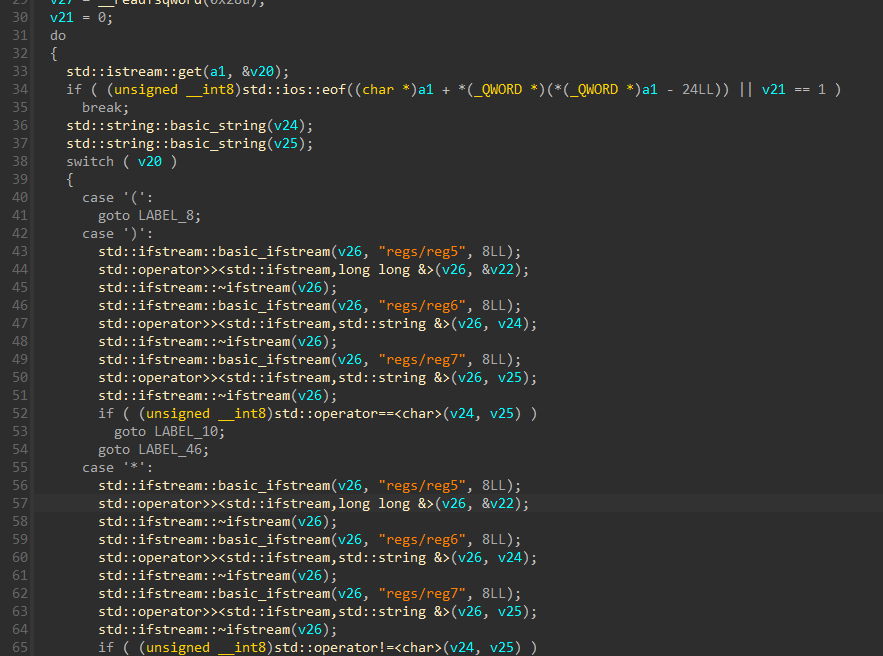
Within the interpret function lies a switch case structure, handling various opcodes and their corresponding operations. This is where the real magic happens
The bytecode file utilizes only a few specific opcodes, as listed below:
Opcode “Q”: Adds values from two registers and stores the result in a third
Opcode “?”: Concatenates values from two registers and stores the result in a third
Opcode “>”: Converts a register’s value to its character form
Opcode “T”: Negates the number in a specified register
Opcode “S”: Pops out the last character from a register’s value
Opcode “=”: Extracts the last byte of a register’s value and stores it in another register
Opcode “*”: Compares values in two registers and jumps to a specific instruction based on the comparison result
I explored two approaches to solve this challenge: building a complete VM emulator and utilizing a GDB script.
Method 1
This approach involved creating a custom emulator to replicate the behavior of the VM used in the challenge. By examining the interpret function through decompilation, I discovered the presence of eight registers (reg0-reg7).
Analysis of the disassembled code revealed a byte-by-byte comparison taking place. Basically, the program extracts the last character from your input and compares it against a dynamically generated value stored in reg1 each time the “=” opcode is encountered.
To obtain the values that are being compared, we can simply store the value of reg1 read at opcode “=”.
The remaining characters make the flag, with the exception of the two that spit out an unprintable character. At this point, all I did to get the flag was estimate those two characters.
Flag: openECSC{supereasyvmc4e87c4d}
Method 2
Since we know that on reading the value of reg1 during the execution of opcode “=” gives out the flag characters that are being checked, we can write a gdb script to set a breakpoint at that point and read the values straight from the reg1 file under regs directory created by the binary itself.
This method we utilise the debugging capabilities of GDB to narrow down the computation required to obtain the solution. Our understanding from the previous parts was that the “=” opcode extracts the last character from the flag input and compares it against a value stored in reg1 which is the correct flag byte.
By crafting a GDB script, we could set a breakpoint at the “=” opcode. Upon reaching this breakpoint, the script would directly read the value stored in reg1 within the regs directory created by the program itself.